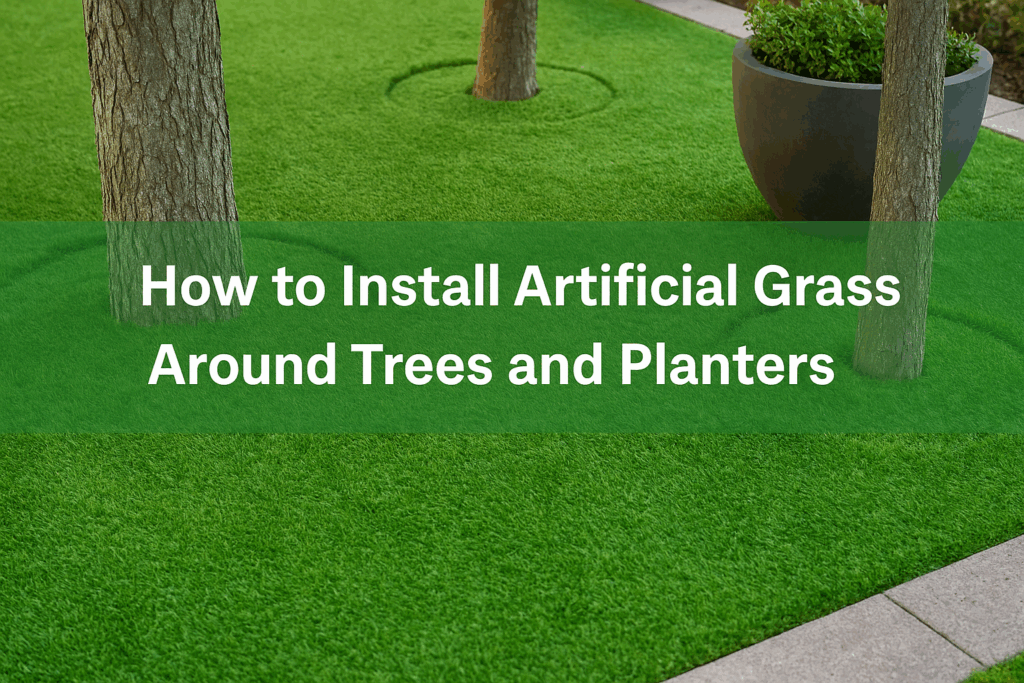
How to Install Artificial Grass Around Trees and Planters
Integrating artificial grass around existing trees and planter boxes can create a seamless, low-maintenance landscape that highlights greenery and structural elements. However, cutting corners or skipping proper preparation can damage tree roots or undermine your turf’s stability. This comprehensive guide walks you through planning, cutting, and installing turf around trees and planters for a polished, professional look.
Whether you’re upgrading a small urban courtyard or a sprawling backyard, careful attention to root protection, precise cutting, and neat edging ensures your artificial lawn remains beautiful and healthy for years to come.
What You’ll Learn in This Guide:
- Planning and root-zone protection strategies
- Measuring, marking, and precision cutting techniques
- Installing a stable infill base and turf backing
- Edge restraint methods around trees and planters
- Maintaining turf and tree health long-term
1. Planning & Protecting Tree Roots
Start by identifying the tree’s critical root zone (CRZ), typically one to two feet outside the drip line. Avoid compacting soil within this area during installation:
- Mark the CRZ: Spray paint the perimeter to guide turf cuts and base work.
- Use protective mats: Lay plywood sheets if heavy foot traffic is necessary near roots.
- Minimal excavation: Hand-dig only where turf borders meet tree pits to limit root disturbance.
2. Base Preparation & Drainage
A stable, well-draining base is essential under turf and planters alike:
- Excavate existing soil to a depth of 3–4 inches around trees and planters, avoiding roots.
- Install a geotextile fabric to separate topsoil from aggregate and protect roots.
- Add 2–3 inches of compacted crushed stone or decomposed granite for drainage and stability.
- Ensure a slight slope away from tree trunks and planter edges to direct water to drains.
3. Measuring & Cutting the Turf
Precise cuts create clean lines and prevent turf gaps or overlaps:
- Template method: Cut a paper template to fit around tree trunks or planter shapes.
- Transfer and mark: Lay the template on turf backing, trace with chalk.
- Cut carefully: Use a sharp utility knife and straightedge for smooth edges.
- Test fit: Position turf piece and adjust cuts before securing.
4. Seam Alignment & Edge Restraints
Seams near curved edges require extra attention to prevent separation:
- Align blades: Lay adjacent turf sections with fibers pointing in the same direction.
- Seam tape & adhesive: Apply premium seam tape beneath the joint and adhesive above for strength.
- Flexible edging: Use rubber landscape edging or treated timber to secure turf around curves.
- Galvanized staples: Staple the backing every 6–8 inches along edges facing tree pits or planter walls.
5. Infill & Final Grooming
Proper infill supports turf fibers and enables water flow:
- Apply infill: Spread silica sand or rubber crumb at recommended rates.
- Brush fibers: Power-broom in multiple directions so infill settles evenly.
- Edge clean-up: Sweep away excess infill from trees and planter rims.
6. Long-Term Care & Tree Health
Maintain both turf and plantings by:
- Regular watering: Soak tree root zones separately; turf saves water on surrounding areas.
- Debris removal: Clear leaves and mulch from turf weekly to prevent decay and odor.
- Inspect seams: Check turf edges near planters quarterly and secure as needed.
- Fertilize trees: Apply root-zone fertilizer beneath protective mats once a year.
Ready for Seamless Turf Integration?
Contact Buy-Grass for professional installation advice and root-safe turf solutions.