
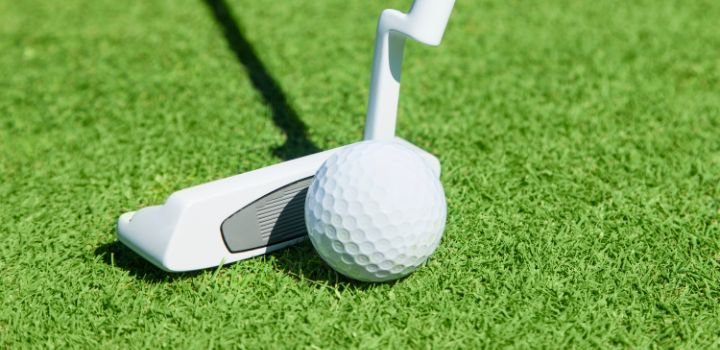
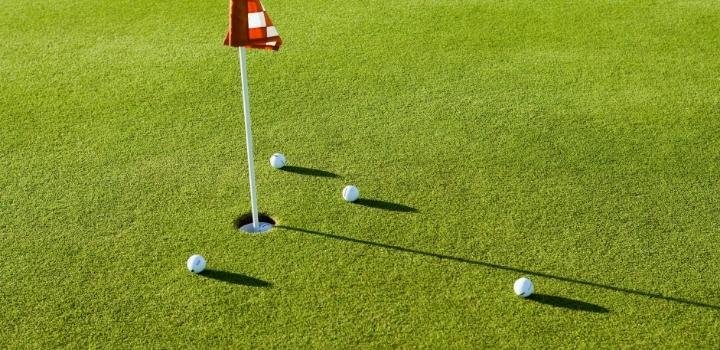
Creating a backyard putting green is an excellent way for golf enthusiasts to practice their game without leaving home.
If you’ve ever wondered how to make a putting green with artificial turf, this guide provides a clear, actionable step-by-step approach to help you achieve a professional-quality putting surface.
Installing an artificial turf putting green is a cost-effective, low-maintenance, and eco-friendly way to enhance your outdoor space while improving your golf skills.
In this guide, we’ll walk you through the process, common challenges to avoid, and expert tips to ensure a smooth installation.
What You’ll Learn in This Guide:
- Choosing the Right Location for Your Putting Green
- Gathering Materials and Tools
- Preparing the Ground for Installation
- Installing a Proper Drainage System
- Laying and Securing the Artificial Turf
- Adding Infill and Final Touches
- Maintenance Tips to Keep Your Putting Green in Top Shape
Choosing the Right Location for Your Putting Green
The first step in creating your backyard putting green is selecting an ideal location. Consider the following factors:
- Level Ground: A flatter surface reduces the need for excessive grading and makes installation easier. Uneven ground can lead to an inconsistent ball roll and create unnecessary dips and bumps, making the playing experience less enjoyable.
- Drainage: Avoid low-lying areas where water tends to pool, as poor drainage can damage the artificial turf. Proper drainage ensures that water flows away efficiently, preventing soggy spots and prolonging the lifespan of your putting green.
- Space Availability: Make sure the chosen area is large enough for an enjoyable putting experience. A cramped space may limit your ability to practice different putting angles and techniques, reducing the overall effectiveness of your green.
- Sunlight & Shade: Artificial turf holds up well in most conditions, but selecting an area with a balance of sun and shade helps maintain longevity. Excessive sun exposure can cause the turf to heat up, while too much shade may encourage mold and mildew growth, affecting the playing surface over time.
For professional assistance in designing your backyard landscape, check out our outdoor living solutions.
The United States Golf Association (USGA) provides an in-depth guide on constructing backyard putting greens, discussing considerations between synthetic and natural grass, site selection, and construction methods.
Gathering Materials and Tools
Before starting, gather all necessary materials and tools.
You will need:
- Artificial turf designed for putting greens – Specifically engineered to mimic the feel and ball roll of natural grass, ensuring an authentic putting experience.
- Crushed stone or decomposed granite (for base layer) – Provides a solid, well-draining foundation to prevent shifting and maintain surface smoothness.
- Weed barrier fabric – Prevents weed growth beneath the turf, keeping your putting green pristine and maintenance-free.
- Compactor or tamper – Essential for compressing the base layer, ensuring stability and an even playing surface.
- Shovel and rake – Used for spreading and leveling base materials before laying the turf.
- Utility knife for cutting turf – Helps trim the artificial grass to fit the designated area perfectly.
- Adhesive and seam tape – Necessary for securing seams and preventing movement of the turf.
- Infill material (silica sand or rubber granules) – Adds weight and stability to the turf while enhancing ball roll speed and performance.
- Lawn roller or power broom – Used to distribute infill evenly and keep turf fibers standing upright.
Browse our high-quality putting greens artificial turf options to find the best fit for your project.
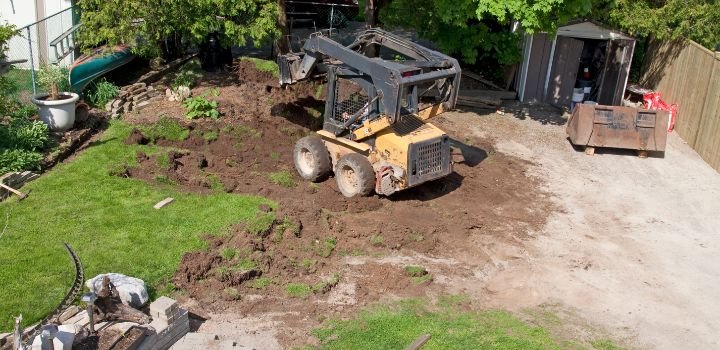
Preparing the Ground for Installation
Proper ground preparation is essential for a smooth, durable putting green.
Follow these steps:
- Clear the Area: Remove any grass, weeds, or debris from the selected area. Clearing the surface prevents unwanted plant growth from interfering with the putting green and ensures a clean slate for installation.
- Excavate the Surface: Dig out about 3-4 inches of soil to create space for the base layer. This step helps remove any soft or unstable soil that could lead to an uneven or shifting surface over time.
- Install Weed Barrier: Lay down a weed barrier fabric to prevent unwanted growth. This is crucial in maintaining the integrity of your putting green by stopping weeds or grass from growing through the artificial turf.
- Add Base Material: Spread a 2-3 inch layer of crushed stone or decomposed granite and compact it using a tamper or compactor. A well-compacted base ensures stability, proper drainage, and a firm foundation for the artificial turf.
- Level the Surface: Use a rake and a level to ensure an even playing field. A smooth and even base prevents inconsistencies in ball roll and provides a professional-quality surface for putting practice.
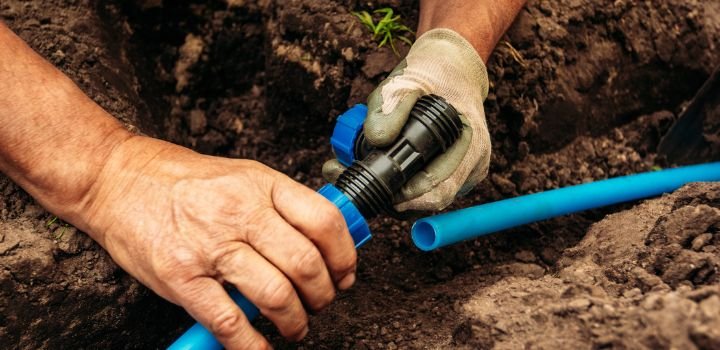
Installing a Proper Drainage System
Poor drainage can lead to water accumulation and damage the putting green. To prevent this:
- Ensure Proper Grading: Create a slight slope in the base layer to direct excess water away from the putting green, preventing waterlogging and damage.
- Install a Perforated Drain Pipe: If your area is prone to heavy rainfall or excessive moisture, adding a perforated drain pipe underneath the base can help channel water away efficiently.
- Use Well-Compacted, Permeable Base Materials: Opt for crushed stone or decomposed granite as a base layer. These materials allow water to drain through while providing a stable foundation.
- Incorporate a Drainage Mat: For added protection, consider installing a drainage mat beneath the turf to further promote water flow and prevent pooling.
- Regularly Inspect Drainage Performance: Over time, debris or compacted infill can reduce drainage efficiency. Conduct periodic inspections and clear any blockages to maintain optimal water flow.
Need expert installation? Our professional installation services can ensure your putting green has the perfect drainage system.
This guide will help you troubleshoot drainage issues, avoid water buildup, and ensure optimal performance for your backyard putting green with artificial turf.
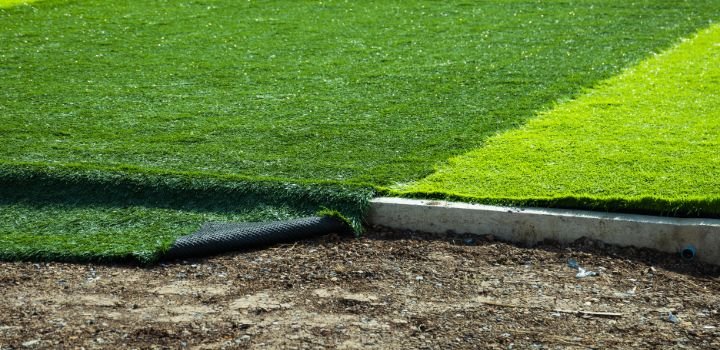
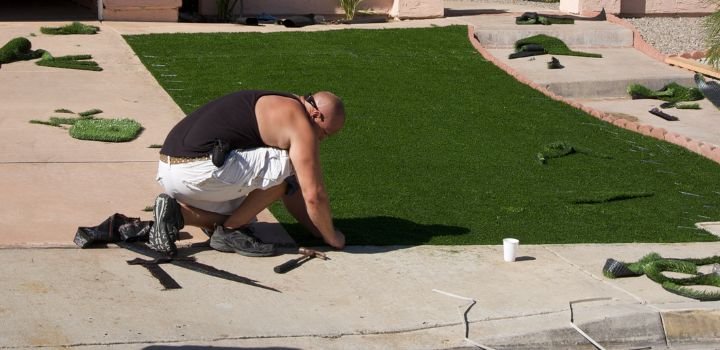
Laying and Securing the Artificial Turf
Now that your base is ready, it’s time to install the artificial turf:
- Roll Out the Turf: Carefully unroll the artificial grass over the prepared area, making sure it covers the entire surface without wrinkles or creases. Allow the turf to sit for a few hours to help it acclimate and reduce expansion or contraction.
- Trim for a Perfect Fit: Use a sharp utility knife to cut away excess turf and ensure a precise fit, especially around curves, obstacles, or the edges of your putting green. Cutting the turf carefully will prevent fraying and create a seamless look.
- Secure Seams Properly: If multiple turf sections are needed, use seam tape and adhesive to join them together. Make sure the fibers of adjacent sections blend naturally to avoid visible lines or inconsistencies in the surface.
- Anchor the Turf: Secure the perimeter using landscape spikes or nails every 6 to 12 inches to keep the turf in place. In areas with high foot traffic, consider adding additional anchoring points to prevent movement over time.
- Smooth Out and Stretch: Gently pull the turf taut before securing to avoid ripples or uneven patches. A power broom or stiff brush can help align the turf fibers for a natural look.
For DIY enthusiasts, explore our DIY installation guide for additional tips and tricks.
Global Syn-Turf provides a comprehensive installation guide, detailing sub-base preparation, turf trimming, fastening, infill application, and tips to avoid common pitfalls.
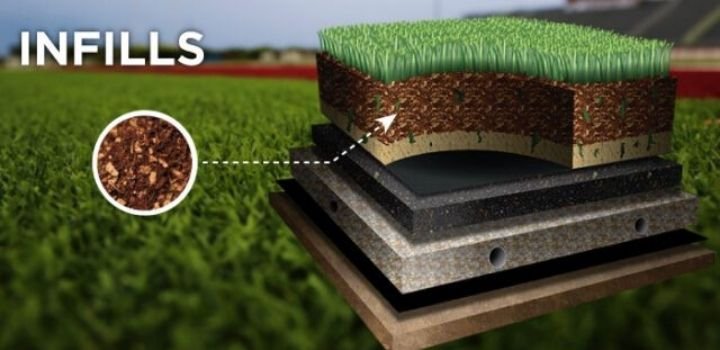
Adding Infill and Final Touches
Applying infill is a crucial step in ensuring the longevity and functionality of your artificial turf putting green. It helps stabilize the turf, keeps the fibers standing upright, and enhances ball performance by mimicking the feel of natural grass.
- Spread infill evenly across the turf using a drop spreader. Properly distributed infill helps prevent uneven surfaces and ensures consistent ball roll during play. Without infill, the turf can shift, creating an inconsistent and unreliable putting experience.
- Brush the turf with a power broom to distribute infill properly and maintain fiber uprightness. Brushing also helps prevent matting and compaction, which can negatively impact playability over time. Regular brushing ensures the fibers stay resilient and replicate the feel of natural grass.
- Choose the Right Infill Material: Silica sand and rubber granules are common options. Silica sand provides weight and firmness, while rubber granules add a bit of cushioning and flexibility. Selecting the correct infill material helps maintain a smooth, professional-grade playing surface.
- Test Ball Roll: Adjust the infill amount as needed to achieve the desired speed and smoothness of the putting surface. More infill can slow down the ball, while less infill can increase speed, allowing you to customize the green to your preferences. Testing and adjusting the infill depth ensures the best performance and a realistic putting experience.
Maintenance Tips to Keep Your Putting Green in Top Shape
Maintaining your artificial turf putting green is essential for ensuring longevity, performance, and a consistently smooth playing surface.
Proper maintenance reduces wear and tear, prevents debris buildup, and enhances the overall appearance of your green.
- Brush the Surface Regularly: Using a power broom or stiff-bristled brush, regularly brush the turf fibers to keep them standing upright and maintain a natural look. This helps distribute infill evenly and prevents matting.
- Remove Debris and Leaves: Use a leaf blower or a gentle rake to remove leaves, dirt, and other debris that can accumulate on the surface. Keeping the turf clean prevents mold, mildew, and drainage issues.
- Rinse the Turf Occasionally: A light rinse with water helps remove dust, pollen, and minor stains, keeping your putting green fresh. Avoid using high-pressure sprays, as they can displace infill.
- Check Seams and Edges: Periodically inspect seams and edges for any signs of lifting or separation. Secure any loose areas with adhesive or landscape stakes to prevent further damage.
- Refresh Infill as Needed: Over time, infill may become displaced due to foot traffic and weather conditions. Reapplying infill ensures proper ball roll and maintains turf stability.
- Prevent Weed Growth: While a weed barrier is installed underneath, occasional weed growth may occur along the edges. Spot-treat any weeds with a mild weed killer or remove them manually to maintain a clean surface.
- Address Stains and Spills Promptly: Clean up any spills, pet waste, or other contaminants immediately using a mild soap solution and water. This helps prevent odors and discoloration.
Check out our Ultimate Guide to Cleaning Artificial Grass for expert tips on removing debris, preventing odors, and keeping your backyard putting green with artificial turf in top condition.
Common Problems and How to Avoid Them
Many DIY installers encounter issues during the installation process. Here are some common problems and solutions:
- Uneven Surface Preparation – Always compact the base material thoroughly to avoid bumps.
- Poor Drainage Installation – Ensure proper slope and use a drainage system if needed.
- Choosing the Wrong Artificial Turf – Use putting green-specific turf for the best ball roll.
- Improper Turf Seaming and Installation – Take time to align and secure seams correctly.
- Inadequate Infill Application – Apply infill evenly to prevent shifting and inconsistent play.
- Weed Growth and Base Contamination – Use a quality weed barrier to prevent grass or weeds from sprouting.
- High Maintenance Expectations – Artificial turf is low-maintenance, but it still requires occasional brushing and debris removal.
Conclusion
Building a backyard putting green with artificial turf is a rewarding project that enhances your outdoor space while providing a professional-level golf practice area.
By following these step-by-step instructions and avoiding common mistakes, you can create a long-lasting, low-maintenance, and high-performance putting green right at home.
If you need artificial grass products, installation assistance, or professional landscaping solutions, contact Buy-Grass—your trusted experts in premium artificial grass and landscape solutions.
Let us help you bring your vision to life and make the most out of your backyard with a high-quality artificial turf putting green!